Improving your home’s energy efficiency can lead to significant savings and a more comfortable living environment. Free External Wall Insulation, available through SOLO HOME ENERGY, offers a fantastic opportunity to upgrade your home’s insulation and reduce energy consumption without any cost to you.
External wall insulation involves applying insulating material to the outside of your home’s walls. This method is ideal for homes with solid walls or those that lack sufficient cavity wall insulation. By adding a layer of insulation on the exterior, you can effectively prevent heat loss, making your home warmer and more energy-efficient.

External wall insulation helps retain heat within your home, leading to significant reductions in heating costs.

External wall insulation can also improve the appearance of your home, as it can be finished with various materials and colors.

A well-insulated home is more energy-efficient, which can enhance its market value and appeal to potential buyers.

This insulation helps maintain a consistent indoor temperature, ensuring a more comfortable living environment year-round.
Eligibility for free external wall insulation grants typically depends on factors such as:
The grant is often available to low-income households or those receiving certain government benefits.
Homes with inadequate or no external insulation are ideal candidates for this grant.
Both homeowners and tenants with landlord permission may be eligible.
Applying for free external wall insulation through SOLO HOME ENERGY is a simple process:
Determine if you qualify based on your income, benefits, and current insulation status.
Reach out to SOLO HOME ENERGY, a government-approved installer, to start the application process.
An installer from SOLO HOME ENERGY will conduct a survey to assess your home’s insulation needs and confirm your eligibility for the grant.
Once approved, SOLO HOME ENERGY will schedule the installation of your external wall insulation, ensuring your home benefits from enhanced energy efficiency.
With rising energy costs, now is the perfect time to enhance your home’s energy efficiency through free external wall insulation. This upgrade not only helps reduce your energy bills but also contributes to a more sustainable future. The process is straightforward, and the long-term benefits include improved comfort, lower energy costs, and increased property value.
Requires removing drywall for installation; commonly used for cavity walls.
Rigid panels installed on walls, effective for high thermal resistance.
Expands upon application, filling gaps and providing airtight insulation.
Loose-fill insulation blown into wall cavities, good for retrofitting.
Foam injected into wall cavities without removing drywall, great for existing structures.
Here’s how to install external wall insulation in the UK:
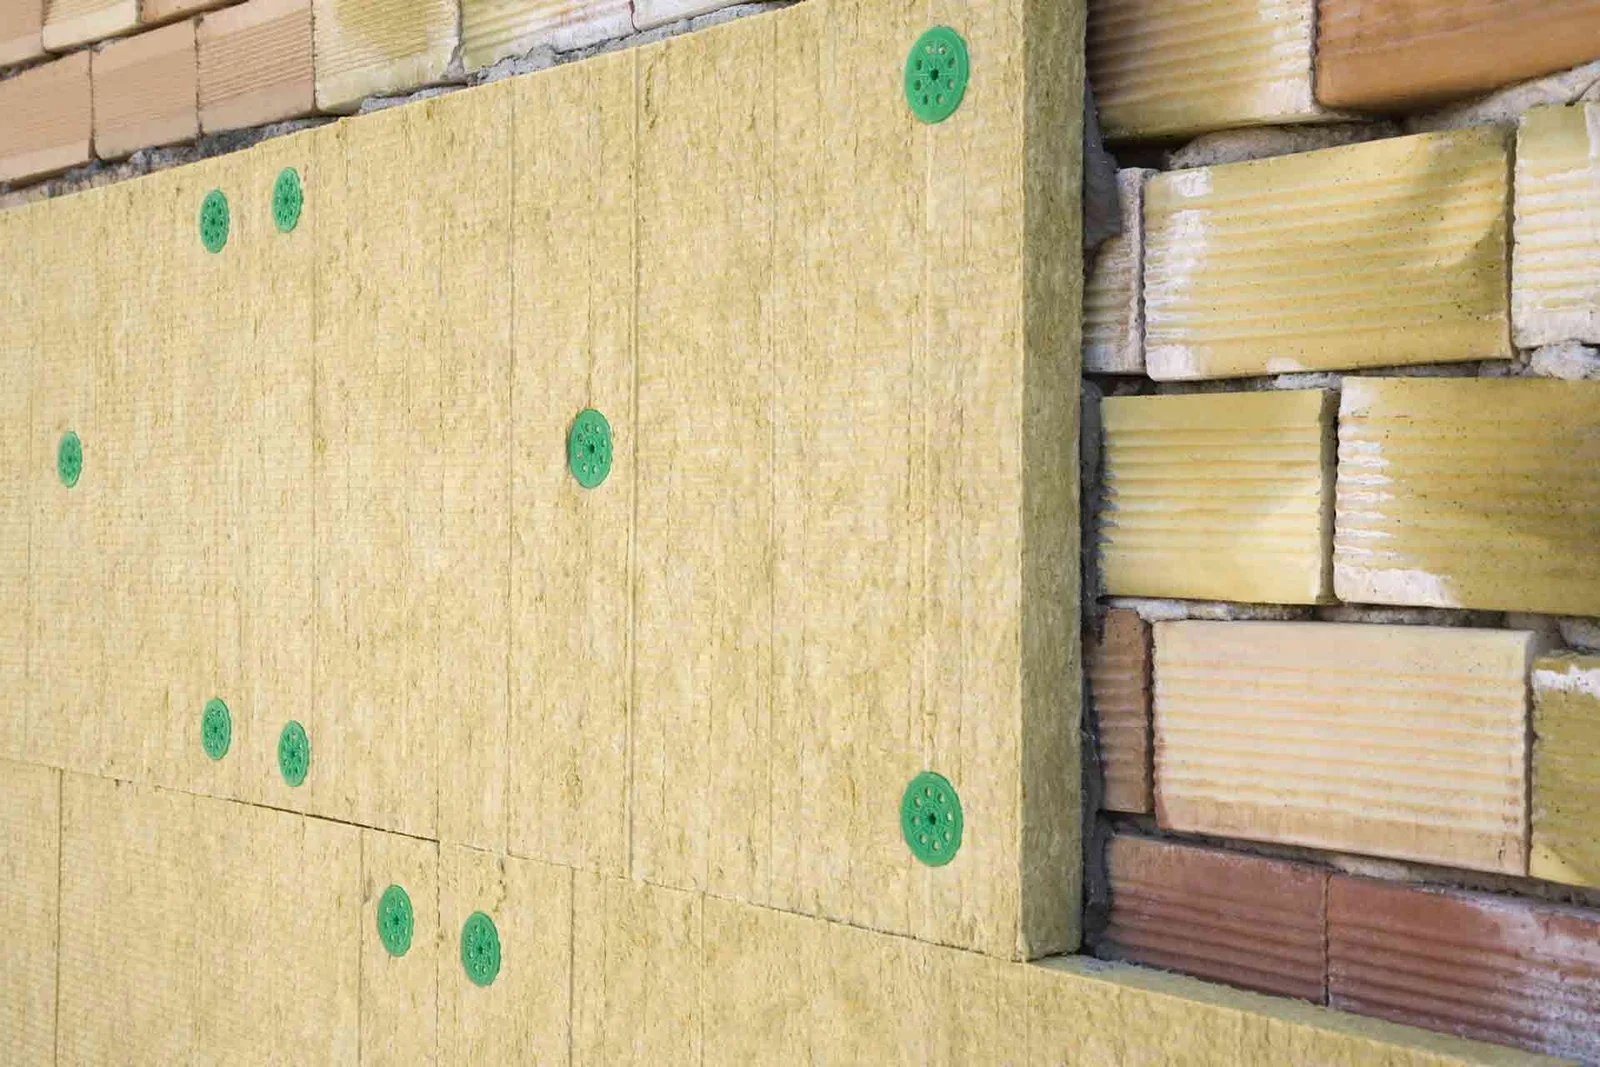
1. Assess the Walls:
Check the exterior walls for structural integrity and dampness. Address any issues before starting.
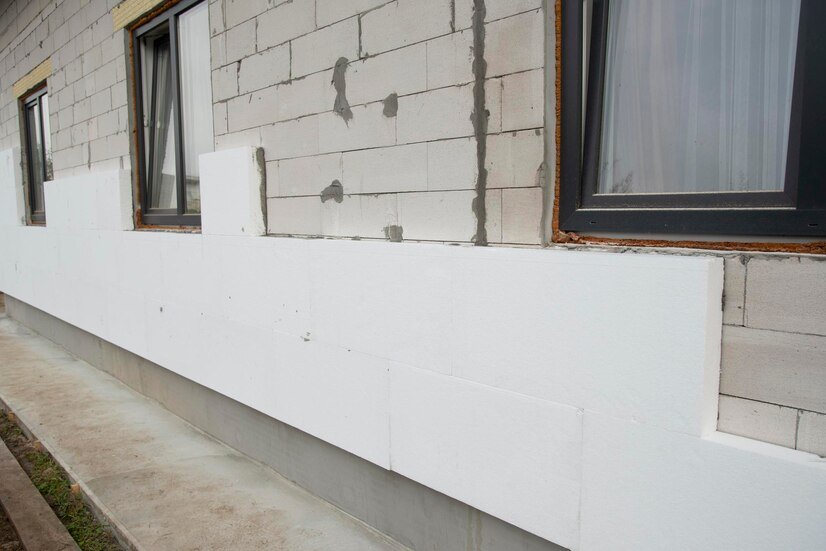
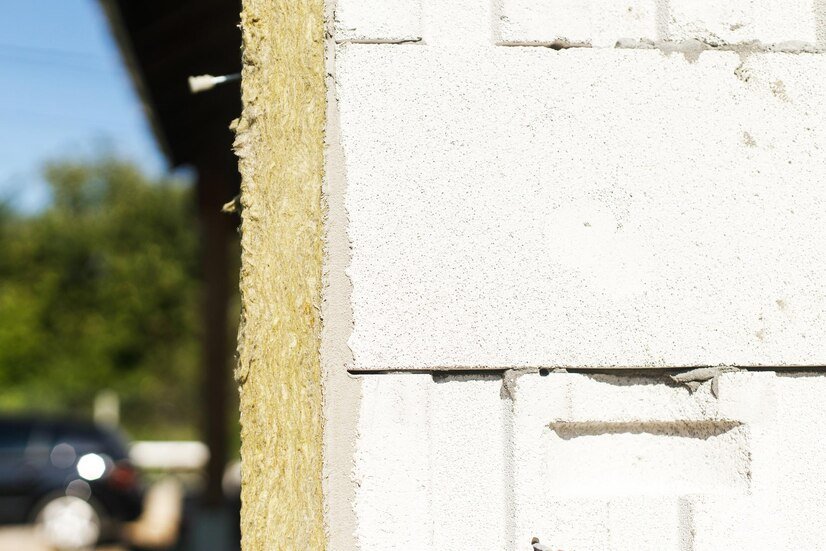
2. Install Insulation Boards:
Fix rigid insulation boards (e.g., EPS, PIR) to the exterior walls using adhesive or mechanical fixings.
3. Apply Reinforcing Mesh:
Cover the insulation boards with a reinforcing mesh embedded in a basecoat to provide strength and protect against cracks.
4. Apply Basecoat:
Spread a layer of basecoat over the mesh to smooth the surface and prepare it for the final render.
5. Add Final Render:
Apply a decorative and weatherproof render or finish to protect the insulation and improve the appearance.
6. Seal Around Openings:
Ensure windows, doors, and vents are properly sealed to avoid thermal bridging and air leaks.
7. Final Inspection:
Inspect for any gaps or imperfections and ensure everything is sealed and weatherproof.